
OK so putting node-RED on the raspberry pi was almost as easy as getting it onto my computer – see previous post here.
I started with the occidentalis distro from adafruit – and to install node.js itself I needed to use different package to match the pi
wget http://node-arm.herokuapp.com/node_latest_armhf.deb
sudo dpkg -i node_latest_armhf.deb
but apart from that things were fairly smooth, I farted around for ages trying to get a manual build of wiring-pi to be recognised, then just randomly tried a
npm install wiring-pito install the library directly, and that worked great! I edited the node-RED settings.js file to add in the ability to use wiring-pi in the global context, and then restarted node-RED.
I wanted both mosquitto and node-RED to start automatically on boot, and rather than use rc.local I created a file in /etc/init.d like so:
sudo nano /etc/init.d/mqttstart
sudo chmod 755 /etc/init.d/mqttstart
sudo update-rc.d mqttstart defaults
the mqttstart script just consists of:
mosquitto -d
cd /home/pi/node-red
screen -dmS red sudo node red.js
So after all that setup; I loaded up node-RED and copied in the blink example and got that working!! but then changed the code around a bit, and looked into the pwm capabilities of the pi. Turns out it has one built-in pwm function and the wiring pi library provides soft-pwm on other pins.
So I changed the pin to pin 1 (wiring-pi convention) and hacked at the blink example function code to show the pwm functioning:
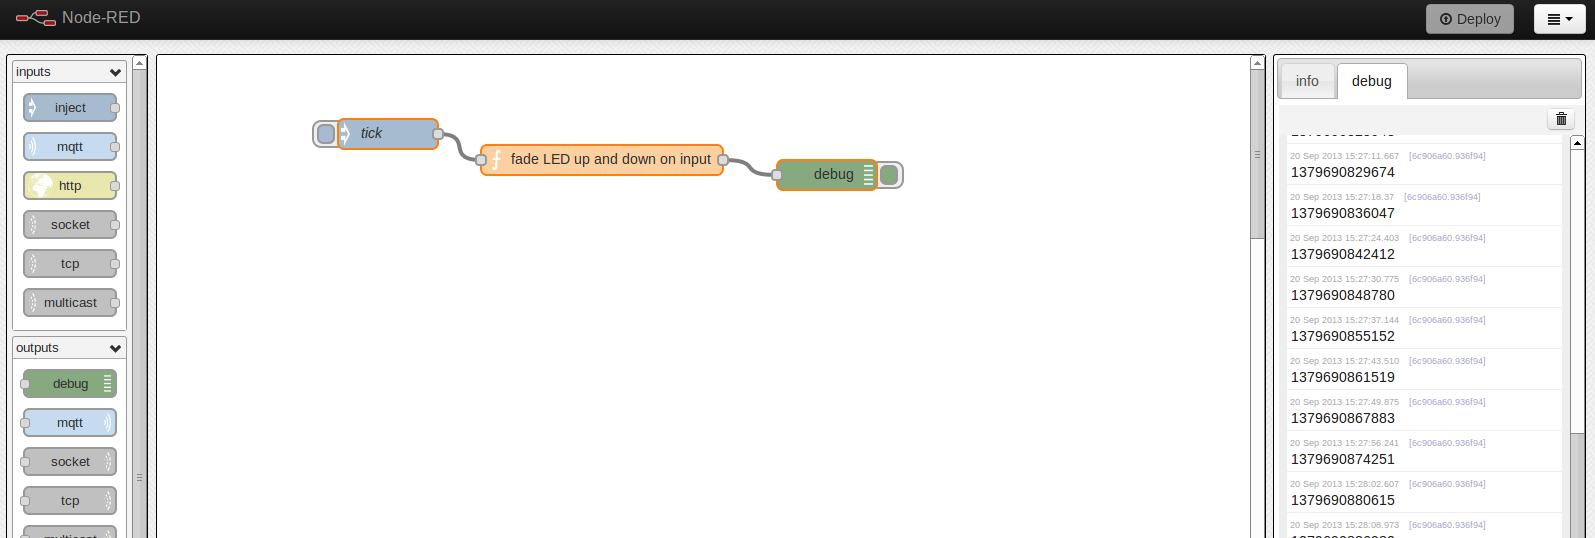
Here is my code, as per the example on the node-RED documentation, just copy the text into the clipboard, then select import from clipboard in the top right and paste it in:
[{"id":"ce4d5b27.31b2a8","type":"function","name":"fade LED up and down on input","func":"\n// select wpi pin 1 = pin 12 on header\nvar pin = 1;\n\n// initialise the wpi to use the global context\nvar wpi = context.global.wpi;\n\n// use the default WiringPi pin number scheme...\nwpi.setup();\n\n// set the mode to pwm output\nwpi.pinMode(pin, wpi.modes.PWM_OUTPUT);\n\n// do the fade up/down in brightness thing\n\nfor (var i=0; i<256; i++){\nwpi.pwmWrite(pin, i*4);\npausecomp(5);\n}\nfor (var i=256; i>-1; i--){\nwpi.pwmWrite(pin, i*4);\npausecomp(5);\n}\n// we don't \"need\" to return anything here but may help for debug\nreturn msg;\n\n// timing function hack kudos Pavel Bakhilau via Sean McManus\nfunction pausecomp(ms) {\nms += new Date().getTime();\nwhile (new Date() < ms){}\n} ","outputs":1,"x":505,"y":370,"wires":[["6c906a60.936f94"]]},{"id":"df3260b7.20cda","type":"inject","name":"tick","topic":"","payload":"","repeat":"1","crontab":"","once":false,"x":291,"y":344,"wires":[["ce4d5b27.31b2a8"]]},{"id":"6c906a60.936f94","type":"debug","name":"","active":true,"x":730,"y":385,"wires":[]}]And now it works to light an led progressively.
Then I replaced the directly driven led with one driven by a TIP120 transistor – keeping a resistor (820Ω) in place to limit the current out of the pi. I haven’t got a convenient 12V load to test it with right now but here’s the same led but with a lot more current drive potential!
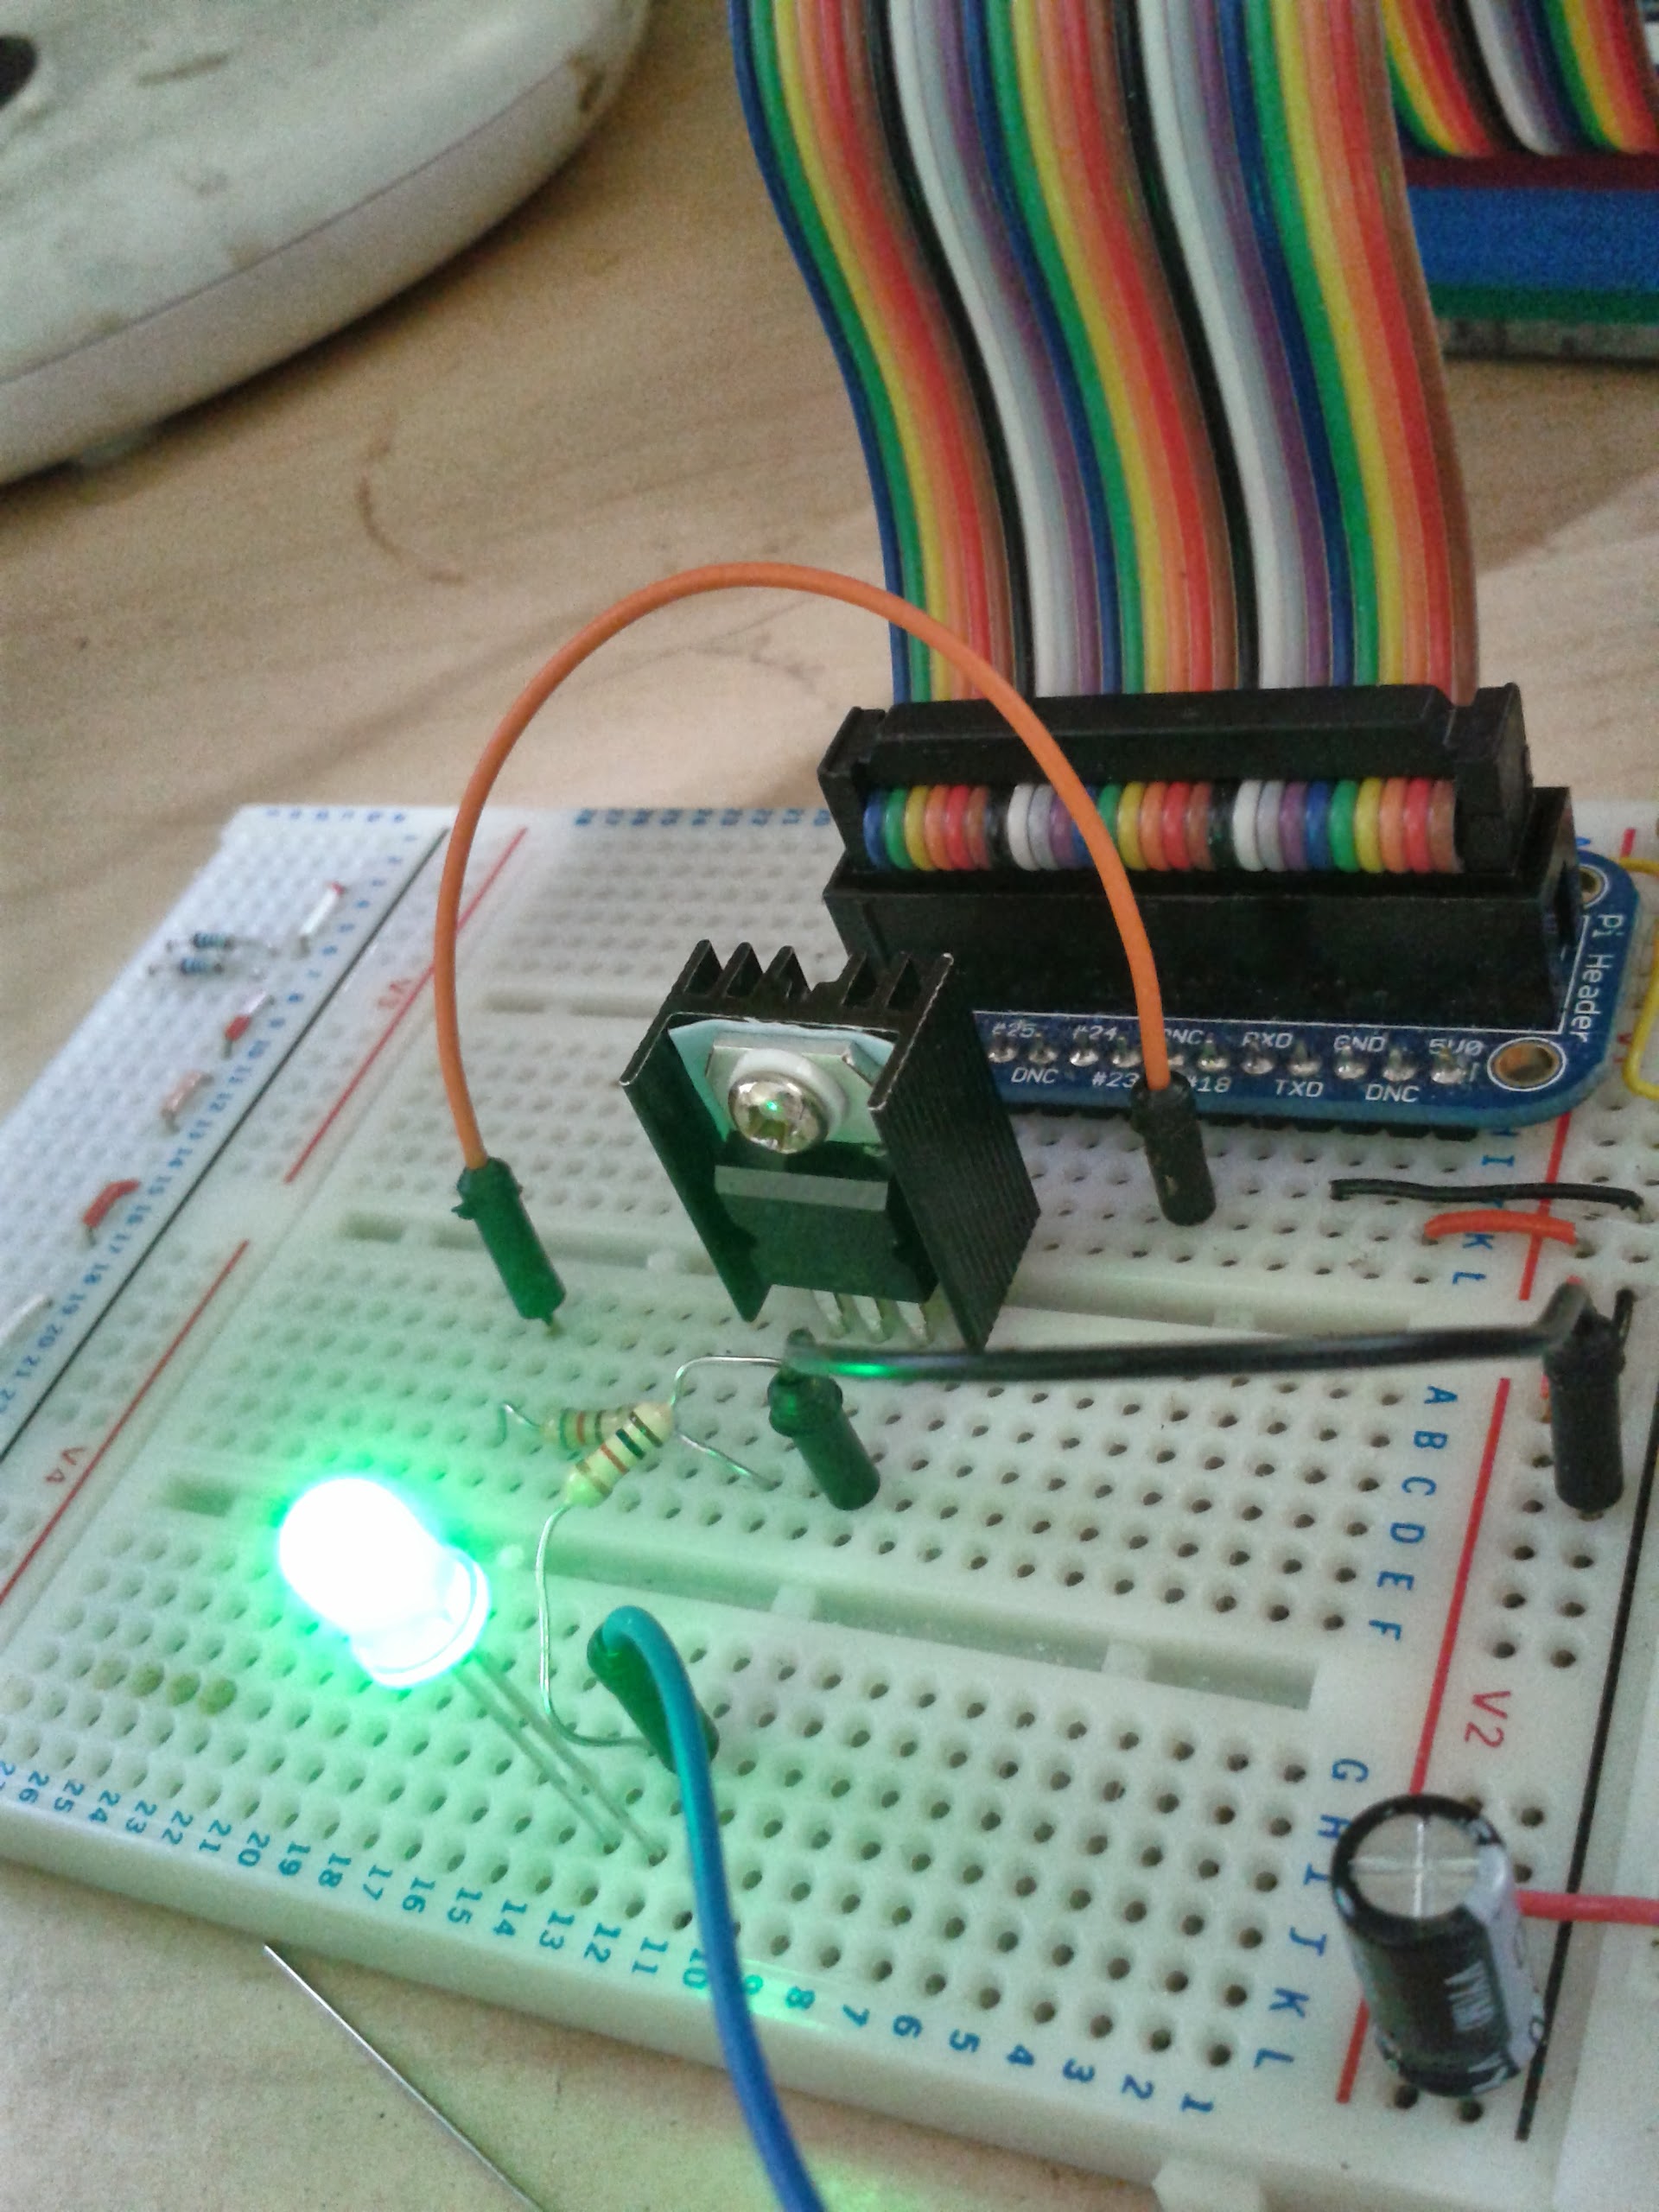
As a nice way to check my sanity, I set the light onto 100% and measured the current drawn from the pi – my cheap multimeter measured 2.31mA which is gratifying as my calculations here predicted 2.3mA! Way to go theoretical predictions!